Sunday Odyssey GSport Odyssey Fairdale

News / Fairdale Feed from FairdaleBikes.com

2014 Print Catalog September 18 2013

Our 2014 Print Catalog is now online. You can check it out in full by clicking over HERE. Stay tuned because we’ll be putting up 360 views of all our 2014 Completes within the next few days! If you’re at Interbike, come to booth #1067 to check out all our bikes in person. If you’d prefer to download a PDF version, CLICK HERE.

More at FairdaleBikes.com


New bikes September 06 2013

Getting excited to show you our new bikes! They should be showing up in early October.  

More at FairdaleBikes.com


Nice Fairdale Cargo Rack man! September 05 2013

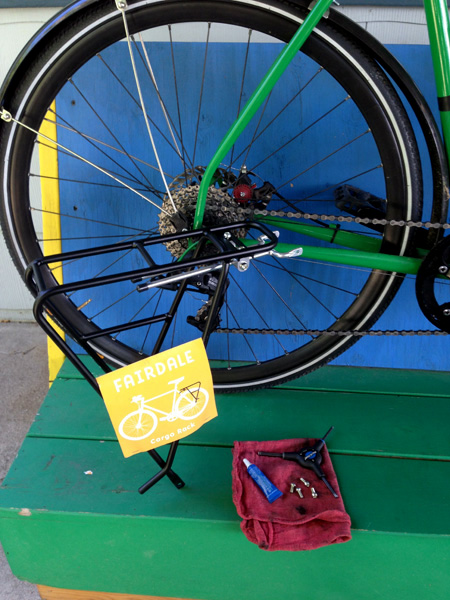
Racks are an awesome addition to a bike. If you`ll be hauling more weight than you could comfortably get into a back pack or if you just want to keep your shirt dry having a cargo rack to carry your stuff is a great solution. Once you have a rack installed there is a whole world of cool pannier bags to carry stuff in AND you can use the Fairdale Skaterack. Being able to haul more with your bike opens up a world of opportunities. Possible jobs you could get once you have a rack: -Hauling cow skulls for Danzig! -Delivering Time trial aero helmets in an unhurried manner. -Hauling lazy people (up to 55lbs) to get ice cream. -Delivering Etnies shoes. -Delivering goldfish to goldfish eating contests. -Delivering hundreds of finger bikes. -Whatever else is up to 55lbs that will fit. Here are some hints for installing the Fairdale cargo rack: First things first… We had a minor screw up with our racks and they don’t fit the Weekender straight out of the box. The strut leg of our Cargo Rack won’t quite line up with the rack eyelet on the Weekender dropout. If mounted directly against the frame eyelet on the Weekender (no spacer or fender strut to act as a spacer) the front end of the two lower struts will need some modification. Hopefully this isn’t too annoying since installing racks means you need to do a little cutting anyway. If fitting the rack to a Weekender use a metal file to file away a couple or so millimeter`s off the front edge of the lower strut.  If you make the leading edge a little rounder it will clear the “hood” of the dropout, allowing the rack angle to be correct and secure. The Fairdale Flyer, Coaster and Parser do not need the lower strut modding, following the supplied directions that come with rack are all you`ll need (hopefully).   I like to use medium strength blue threadlock as well on all the hardware. This helps keep your allen bolts from loosening from road vibration and the dude with the sick bass vibrating the earth in his mini truck blasting KID ROCK. Once the rack is mounted at the bottom you can loosely attach it to the rack mounts on the seat stays. Adjust the rack so that the top of it sits level and you will likely see that you need to trim the upper struts. We make them extra long so that they will fit a wide variety of bikes. Make a mark with a marker where you want to cut them and then remove them for easy hacksawing. Chop them nice and even and maybe even file any sharp edges off. You can easily reapply the little rubber cover to the end of the strut. Tighten everything up and there you go! Make a sure that your bolts aren’t sticking out too far and into anything important. I used a little lock nut from […]

More at FairdaleBikes.com


Project Dog Bike September 03 2013

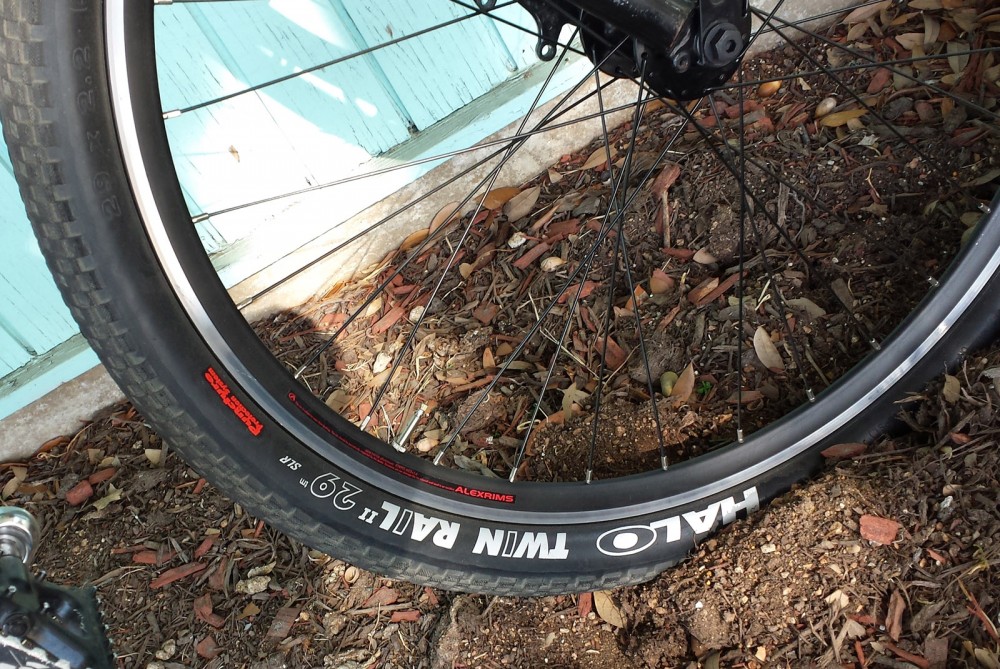
You’d think I’d have some awesome bike since I get to do the design work at Fairdale, but actually my bike is a hodge-podge of mixed up parts I’m either testing or have won through a bean bag toss at Interbike (thanks Niner!). I’ve essentially had the same Weekender build since the West Coast ride we did a year ago. I spent a few hours rummaging for spare parts and rebuilt my machine into this dog carrying commuter. There’s no doubt about it, riding with a dog in a basket is dangerous. Having all the extra weight up front slows down steering and makes quick changes a bit harder to negotiate. Plus, you’re constantly worried about bouncing a dog out of the basket. I guess it’s not different than riding with any precious cargo though, like a kid or a pizza. Just be careful and be looking ahead. I used a Wald Giant Delivery Basket as a starting point. It’s big, heavy and sturdy. I substituted the normal Weekender fork for a  Surly 26″ fork. Since the Surly fork’s length is corrected for suspension it works perfectly as a non-suspension corrected 29er fork and allows me to run a meaty tire up front. Halo sent us this sample tire a while ago and I highly recommend it if you’re looking for a nice plump 2.3 street type 29er tire. I used this tire because its nice big size helps soften the ride for the pup. You may notice I’m using a crappy caliper brake up front instead of disc. This is because with this Wald rack you need to use a normal 3/8″ type axle (not a quick release) and this was the only 3/8″ axle hub I had around (from a Parser). I’ve had two different 3/8″ axle disc hubs blow up on me so I’m still looking for one that can handle the extra weight of the dog on board. Obviously disc would be my preferred brake with this extra weight. I added a front derailleur to give me a bit more gear range while hauling around the extra weight (and because it’s hard to stand up and pedal with Monty shaking around up front). Again you can see the bike is all mixed up component wise. Some random crank sample I picked up in Taiwan, SRAM Rival front derailleur and a SRAM X5 rear derailleur. Please note carbon fiber water bottle holder to save weight. To further mix up this bike I used SRAM X9 grip shift shifters, a Thomson stem and a sample of the Fairdale Archer 2 handlebar (coming soon). I am still fighting this grip shift thing because something about it just feels weird, but I have to admit that even with all the random shifting components I’m using it works flawlessly. So that’s my less than exciting machine that gets me to work every day. Just got an 11speed Ultegra set from Shimano for a new project so hopefully my next bike post will […]

More at FairdaleBikes.com


Camping in the wild by bike August 28 2013

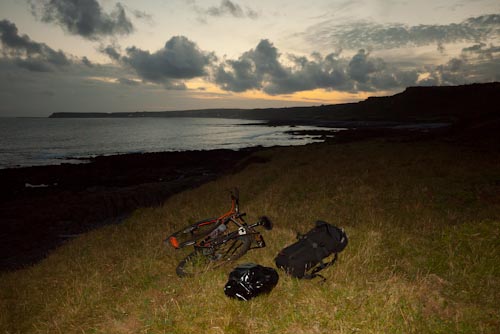
Tyron from The Foot Down put up a cool story about freestyle camping by bike (our Weekender in this case). If you ever thought about getting away for a bit here’s the simplest way to do it. No need to over complicate or over plan… just grab a few essentials and pedal down the road. Check out the story here.  

More at FairdaleBikes.com


New Bike: TAJ August 27 2013

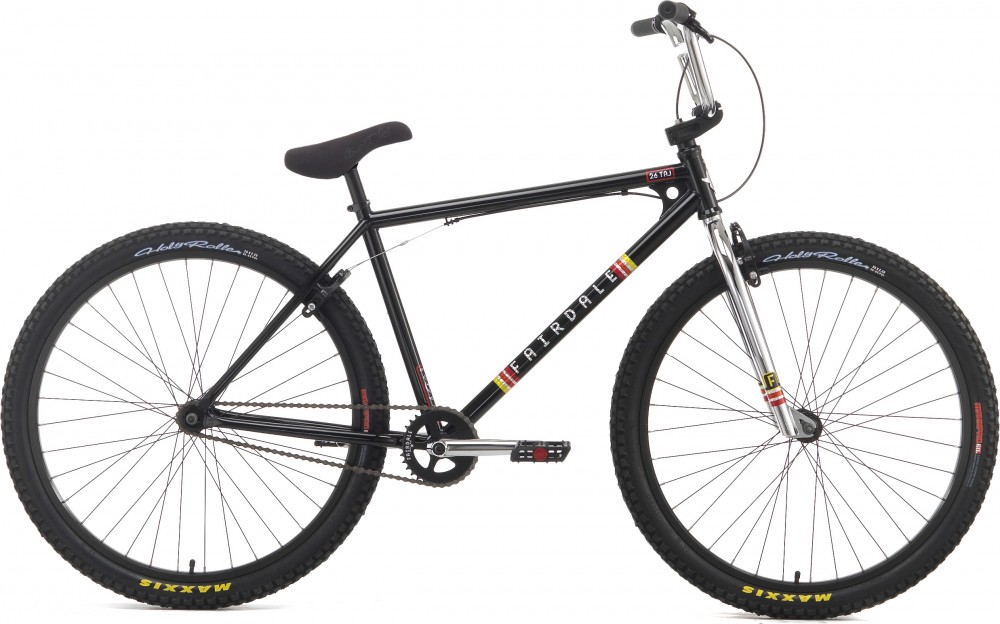
The big bicycle tradeshow, Interbike, is coming up September 18-20th in Las Vegas. Aside from the “industry” party with George Thorogood we hope that one of the highlights will be our new models we’ll be showing off. I’m pretty excited about this one in particular so I thought I’d give you a little sneak peek. Way back in the 90’s I rode BMX for Hoffman Bikes and had a signature model (aptly named the “Taj”). It was a beast of a bike. It was also exactly what I wanted in a bike at the time: indestructible, tough and sturdy. Signature bikes are always a great way to make sure you get exactly what you want from a bike. In fact, if you ever find yourself designing a bike and the people around you start making (sensible) suggestions about how to make it better (and you don’t want to hear it) just put your name on it! Then you can design it however you want and no one can say anything. Last year at Interbike we showed off this sample of a new “Taj” signature bike. It was a 29 inched wheeled BMX bike. The intent was to  have a BMX feel, be fully capable of some curb launching but still be comfortable for cruising mode. Unfortunately we were so rushed to have it done for the 2012 Interbike show that I never even saw the sample until I assembled it on the show room floor. There were some issues. Among them were some serious toe overlap issues (steering would make the front wheel knock your foot off the pedal), and you can see how CLOSE the back wheel is to the seat tube. We had the idea to make the new “TAJ” just one size and with 29 inch wheels that’s hard to do. So, I headed back to the drawing board….   Here is the new TAJ signature bike. I went for 26″ wheels on this bike. They are tougher and easier to maneuver in case you want to do some BMXing. It also allows us to make this bike fit a wider range of riders. The frame, fork, cranks and bars are all track certified chromoly. Good quality Maxxis tires, Sunday stem, front and rear Odyssey U-brakes and an Odyssey Quik Slic cable on the back. A sealed integrated headset and sealed mid bottom bracket round out the pretty dialed BMX spec if I do say so myself! So basically this is my new baby! Think of it as a fun BMX bike that you can sit down on and cruise (if you are in the mood) or romp around and launch some curbs. Fairly relaxed angles will keep it fun and entertaining. Bullet proof single speed BMX style will make keeping this bike rolling simple, and the adaptable and adjustable sizing will fit a ton of different riders. And, I hope it will make you smile as much as it does me! We will have one on […]

More at FairdaleBikes.com


Fender Defender August 22 2013

Considering that rain in Austin is a long forgotten memory from the pre-drought era you can hopefully forgive us for never talking about fenders before. In most parts of the world the ground will occasionally get wet and that shouldn’t mean you have to stop riding. Nor does it mean that you should arrive at your destination with a tire splattered mud track across your backside. Having a simple set of fenders equipped on your bike will keep you nice and dry on damp-day rides. There’s several options and our all-weather team rider Leif wrote up a little introduction for one of the most useful bolt on accessories in cycling. -Taj  Fender Defender If you like to ride year round or just want your wheels to have eyebrows you`ll need to fabricate or buy some fenders, I mean eyebrows. Fenders and the right clothing can turn an otherwise miserable ride into an enjoyable experience. It`s fun zooming through the rain watching water shoot off your tires and into the air and splashing through puddles without a care. If you have no money or the great bicycle fender outlet (Bicycle shop) is closed for the day you may just want to wear a giant trash bag as a rain coat and pedal to wherever you need to be. Or, as an act of protest, go to the great fender outlet and cry at the front door until you run out of tears, then email the manager with an angry letter asking why they were closed when they knew it was raining and someone would need fenders (Editors note: I’m going to assume this probably actually happened at Leif’s shop, ha ha). When you do manage to arrive at the bike shop you will see many types of fenders exist for almost every style of bike. -Seat post clip on fender (this photo from Urban Velo) A good option for keeping some water and the black stripe off your back. Not much fender, not much coverage but sometimes your only option with certain bikes (no fender mounts) and certain tires (too big for fenders). Works on almost any bike with a seat post that isn`t slammed all the way down in the frame. -Clip on fenders A good medium amount of weather coverage, more than the seatpost mounted version and still easily and quickly removable when you don`t need them. Many different options around for these buddies, not all work on all bikes. Planet Bike Speed Ez for my Parser and Planet Bike clip on for my Weekender (no mounting hardware to interfere with disc caliper) are my favorites. Tool free mounting makes clip on fenders a pretty awesome solution. Here’s how the front fender attaches.  There’s also these kind that sort of rubber band on to the frame and fork. Very simple installation.   These ones are easy to take on and off but are prone to rattling around a bit. -Full coverage fenders (shown on the green Weekender) A wet weather climate must, these cover the maximum area of your tire keeping the most […]

More at FairdaleBikes.com

How to draw like Fairdale August 20 2013

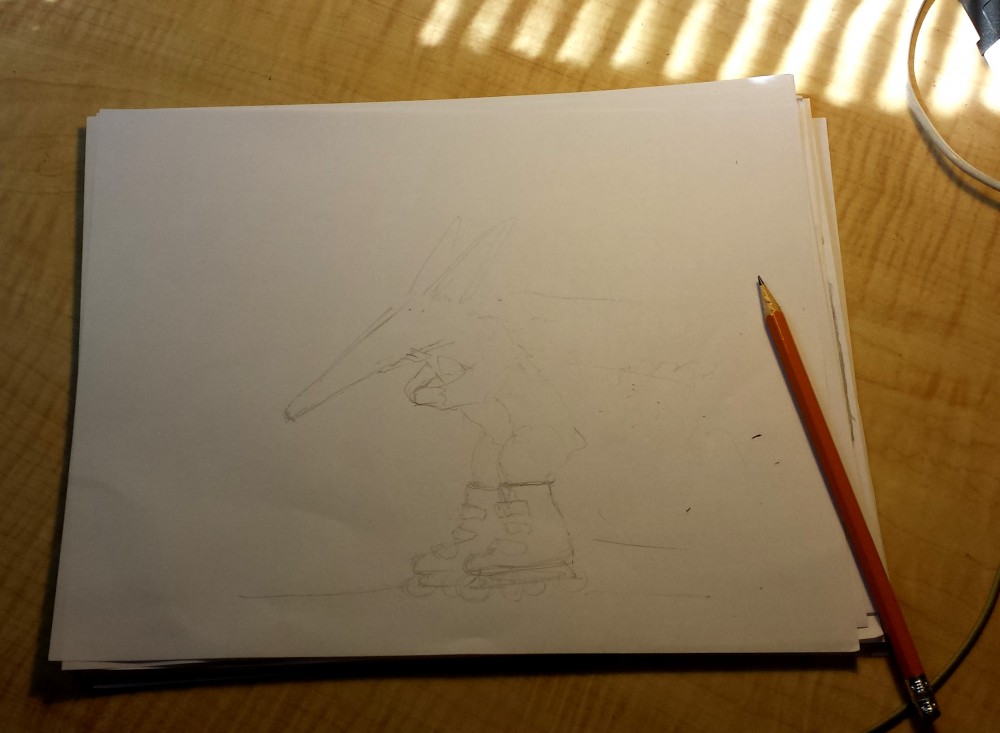
To break up my day at Fairdale Bikes I often spend some time doodling. Drawing something ridiculous is a great way to drum up a smile and save my soul from the torture of working in spreadsheets. Folks often ask me what process I use for colorizing/ digitizing drawings so I put together this little How To. Check it out and have some fun with it. Step 1: First thing I do is look around for something that makes me laugh. Today Monty was Rollerblading® around the office in pink fruit boots and that seemed like a good place to start. Step 2: When I’m drawing something quick I find dropping a heavy outline around the sketch with a Sharpie speeds things up a lot. Step 3: I fill in the detail lines with a smaller pen. If it’s something I want to spend more time on I will use finer and finer detailed pens. Step 4: Sometimes I’ll color everything in with markers but today’s How To centers around quick computer colorization. I’ll scan the drawing in using a scanner. I have a little flat bed Canon scanner that I can fit into my computer bag while on trips, but you can even get away using a camera phone photo of a drawing too. Step 5: After the scan shows up I copy it into Adobe Illustrator. I click the little Live Trace button at the top to “vectorize” the art. This distorts your hand drawn line work a fair bit but I find it looks fine for most quick cartooning stuff. Step 6: You can just select the white shapes and start assigning them colors, but I like to delete out all the white and draw in my own color blocks. To do this I just select all the white from the drawing and delete it out, and then put the black outline in its own locked layer. Now when I draw in color blocks “underneath” that locked layer its ok if they don’t match up perfectly… Gives the drawing a little more hand drawn feel when things aren’t perfect. Step 7: I use a Wacom Intuos5 drawing tablet to “draw” in the color shapes. Of course you can just use a mouse too, but this is way faster. Step 8: Learn your Illustrator key commands and this can be a really quick process. “N” brings up the pencil so you can draw a shape, “I” brings up the eye dropper so you can choose a color to fill that shape with. Keep one hand on the keyboard to switch tools and you can keep your drawing hand in position on the tablet to quickly draw in the shapes. Step 9: Depending on how detailed I’m being I might have several layers of shadows or just one quick one like above. Using the Transparency pallet and the “Multiply” setting I can draw a fast shadow shape over most of the drawing in one shot. This wouldn’t be appropriate to use for something […]

More at FairdaleBikes.com


News for Bike Shops: Flyer Update August 14 2013

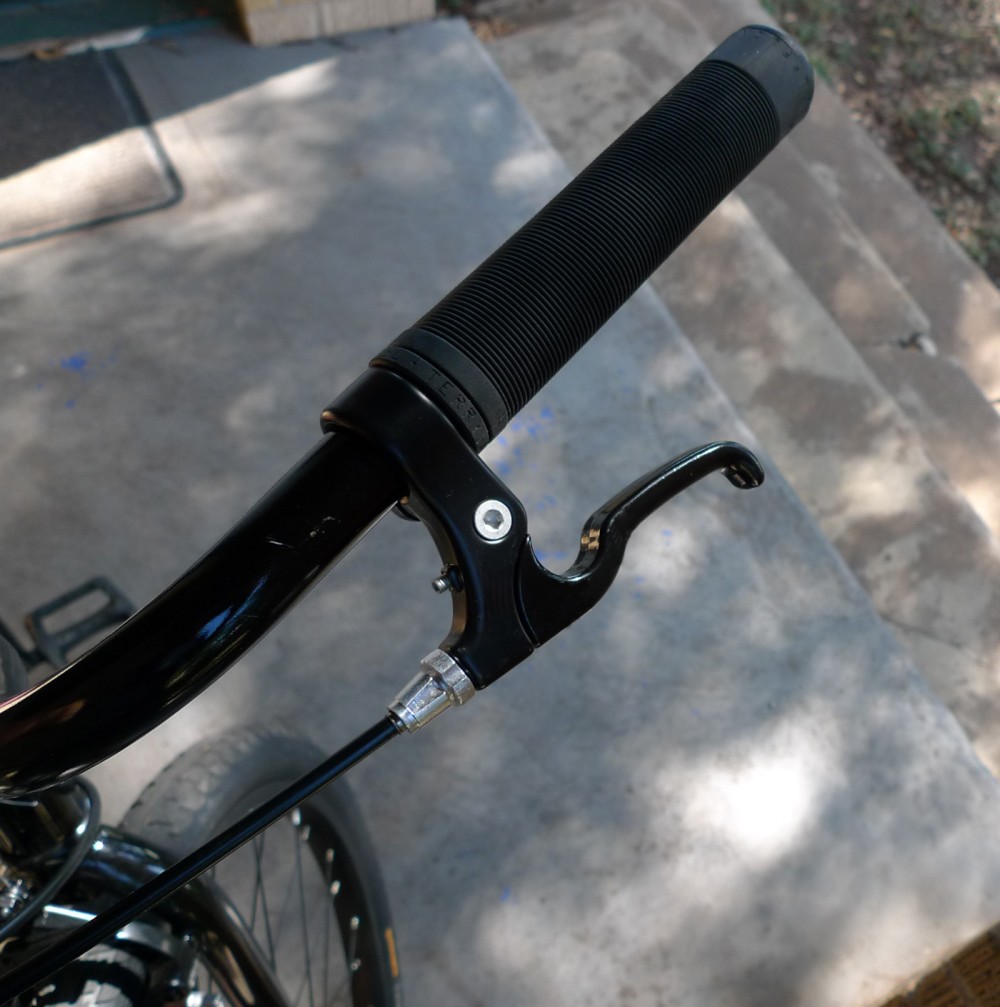
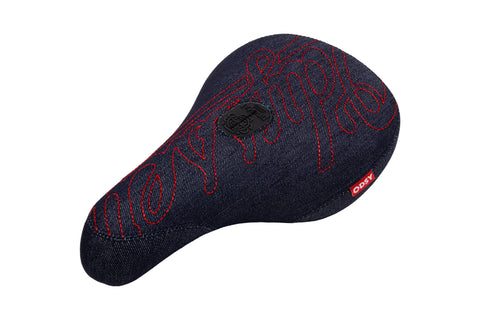
  Our Flyer and Flyer Step-through bikes have done well for us. These simple, bare bones and fun bikes seem to strike a nerve with people looking for a bike to enjoy a cruise on… happy-riding-no-complications. This model is a favorite for bike shops too because it has minimal things that could go wrong, simple sizing and a fair price point. We sold out of our first round of bikes and re-ordered a new batch. We took that opportunity make a few updates to the Flyers. We love the Odyssey Springfield levers that came on the first round of Flyers. They feel exactly like Odyssey’s high end Monolever which we’ve used for years and years on our BMX’s. Unfortunately the Springfield lever isn’t available as a true left and right lever. It’s completely ok to flip the lever to use on either the left or right side (it works fine either way) but we noticed that having a pair of them on a bike made it look a bit like they were unmatched. It looked like they were both right or both left levers.  This has no effect on performance or “feel” of the brakes, but ascetically it threw some folks off. So we switched to a more traditional (if not more generic) left and right style brake lever shown here. We switched the seat on the Flyer to the seat above. The ones coming on the bikes now do not have the Fairdale branding on them yet (they’re just blank), but next round of bikes will have that too. This comfy seat fits the upright riding position of the bike a lot better. This little detail is just to make a bike mechanic’s life a little easier. The old straddle cable was one that you had to cut to length and then install a cable lug (one of those little ones with a 2.5 allen key knarp thing). Now we are including a pre-sized double lugged straddle cable. It’s a tiny detail but it makes the u-brake set up a whole lot easier and less finicky. We also spec-ed a slightly wider rim. This is a super minor detail but it makes the u-brakes work a little better. Oh yes… and we almost screwed this up! We changed the rim spec at the last possible minute but we had already made some of the double lugged straddle cables (shown above) for the old narrower sized rim. After the bikes were mostly packed up to ship we realized our error and included the proper sized straddle cables for the new wider rims. This means inside the parts box (with the pedals and stuff) you will find two little straddle cables that will only work on the old Flyer. The correct straddle cables are stuck to the inside of the box just inside one of the box handles (like in the photos above). This is easy to miss so keep your eyes out for these when you start to unpack a […]

More at FairdaleBikes.com

Tired Tires Should Retire August 13 2013

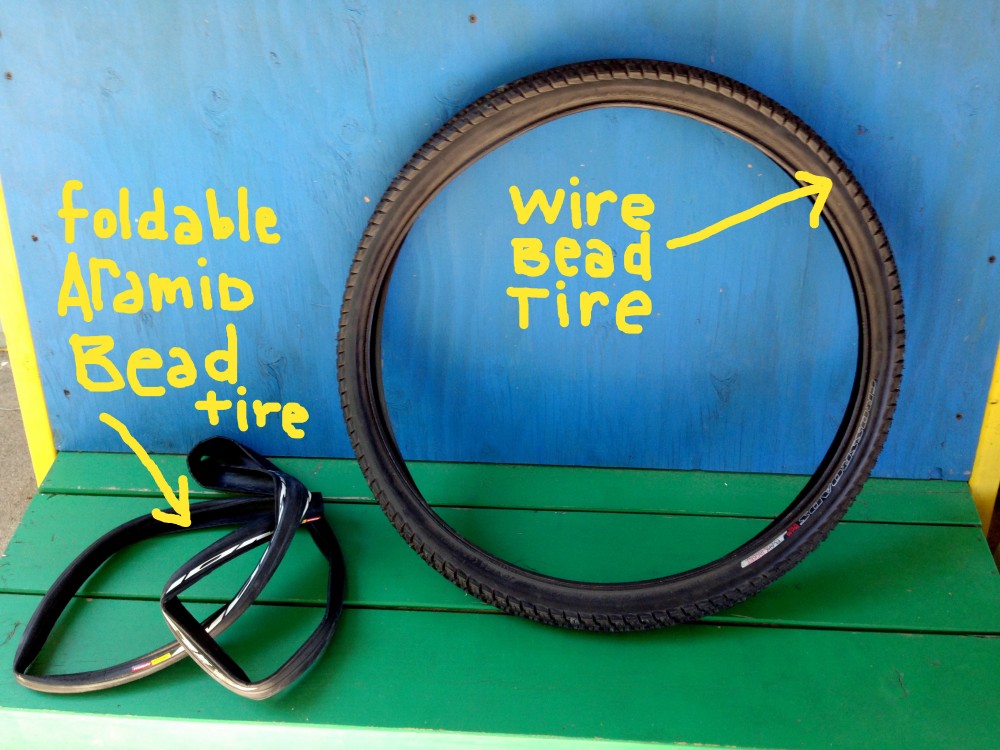
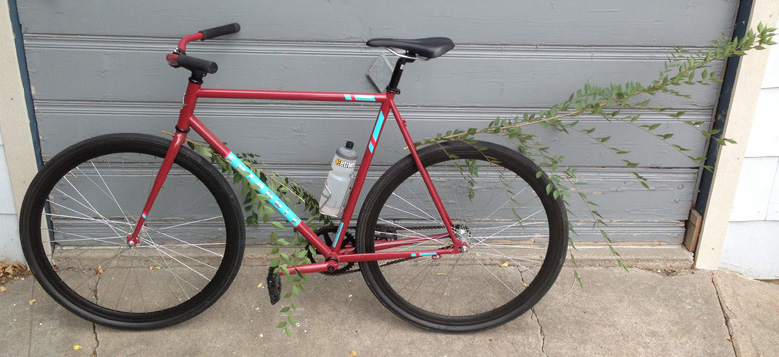
  One of the things we have always been a bit obsessed with at Fairdale is tire quality. It’s such an easy thing to cut corners on (pun!) when you are designing a bike because most consumers do not buy bikes based on tires. On the test ride around the bike shop parking lot tires do not have much to prove so you’ll find a lot of nice bikes with really crappy stock tires installed. However, when you get the bike home tires quickly become a make or break component. Cheap tires that flat easily will bum anyone out. More expensive tires with flat protection might not help us move bikes off the bike shop floor, but they will help you enjoy your bike more often with less headaches. Here’s a short little tire primer from Leif.   Tired Tires Should Retire Everyone who rides a lot ends up wearing out parts.  Tires have a varying lifespan depending on how many rad skids you do and how many burnouts you have while trying to break 400ft segment Strava records. Cheap tires usually have no flat protection.  A true case of you get what you pay for. If all you can afford is a cheap tire look for thicker treaded tires. The thicker tread will help the tire last longer and keep some sharp road debris from puncturing your tube. Not to say you couldn’t dumpster dive to find some good tires or a nice day old bagel for free. It just might take a while to find and you might not want to spend “a while” inside a dumpster (since you will surely get dirty and amused). Your best bet is to find a tire with “Flat-Protection.” There are many options for a good tire with flat protection. Tires with wire beads are generally lower cost and slightly heavier than the folding Aramid beaded tires. For a commuter/touring bike a wire bead tire is fine. Something like the Continental tires the Weekender, Parser, and Flyer come stock with will give you miles of flat resistant pleasure. These have thicker tread than a typical road tire combined with a dense Kevlar® barrier under the tread is a good defense against venomous thorns, chinese stars, 50`s Westside Story type musical gangs with synchronized switchblades, and assorted sharp road debris. A bigger, wider width tire will give you a softer ride. A smaller width and narrower tire will be faster but have a harsher ride. If you have rim brakes and or fenders keep in mind your tire size may be dictated by your bikes fender and brake clearance (i.e., Too big a tire won`t fit under your fenders or in your brakes). If you hunger for higher performance you may want to go with lighter Aramid bead tires to keep the rotating weight down. These are often called “folding-bead” tires. There are many options with quality flat protection in this category. Keep in mind when the weight of bike components goes down the […]

More at FairdaleBikes.com
Page 26 of 62